|

|
 |
Before you start your project, make sure you have the following items:
Helms manual
Engine (H22A)
Tranny (S,
SI, or VTEC)
VTEC Engine Wire Harness
USDM VTEC ECU
New Engine Mounts (if your money allows)
Clutch (I went with
an ACT)
Clutch Alignment Tool
Engine Hoist
Flywheel holder
Pickle Fork
Fluids and jackstands
Plenty of shop
towels
and a friend to help.....
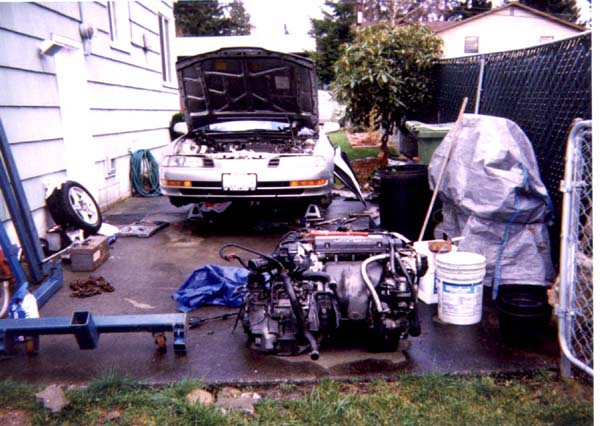
So you are ready to begin taking out the old engine. This is a very easy process,
if you follow the instructions in the manual faithfully. It took me approximately 6hrs. to take out the old one. It was
pretty uneventful as you may be able to see in the pictures.
******CAUTION*******
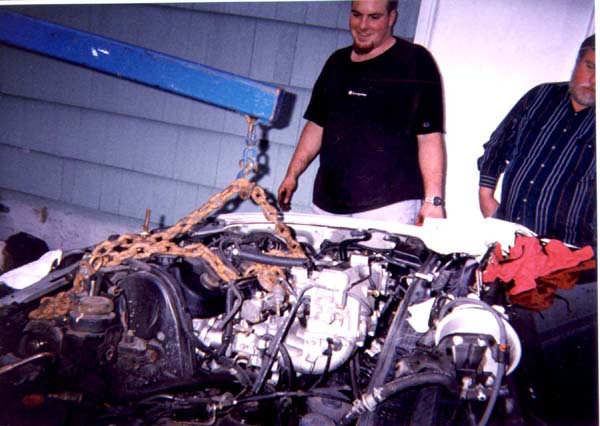
When pulling the axles
out of the tranny, be sure to grab the axles as close the tranny as possible. This will prevent your CV boots from tearing,
and your bearings from coming out of their seats. I had this happen to me, and just want to warn other rookies of this possible
probelm. It took my buddy and I an hour just to get one of them back together. It was very messy, and could have easily
been avoided.
|